%202.png)


Before we get into the details of how to set up your store, here's an example from Brittany Noelle to illustrate how this product looks on a live website:

Setting up your store
Getting Started
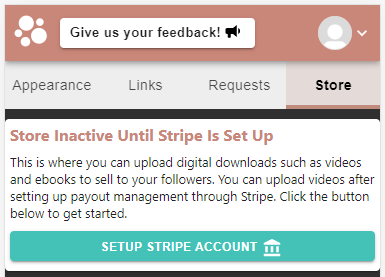
- Visit your Beacons account and go to the Store tab
- Click the Setup Stripe Account button if you haven't already setup your Stripe account. Click here to read over how to setup your Stripe account.
Uploading Items
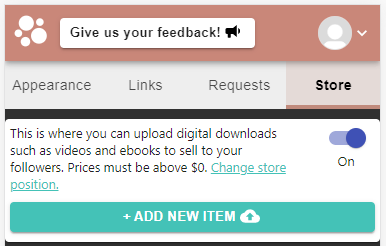
1. Once you have your Stripe account setup, you'll be able to upload digital files. Click the Add New Item button and choose a file.
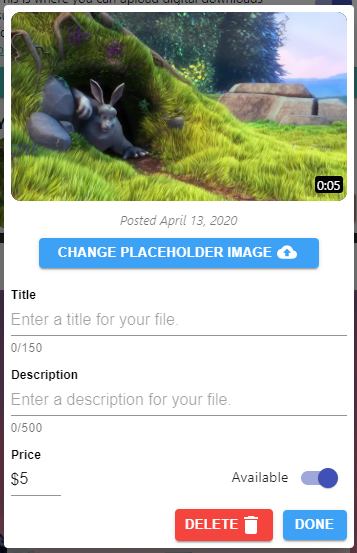
2. After a successful file upload, a popup will appear where you can customize the store item:
a) Change Placeholder Image lets you change the image people will see for your item.
b) Title is the main title for your item.
c) Description is additional information people will see after opening the item for more information.
d) Price is the amount you want to charge for this item. There is a price calculator at the bottom of this post to see the split between you, Beacons, and Stripe (for credit card fees).
e) Available is a switch to turn the item on and off for sale.
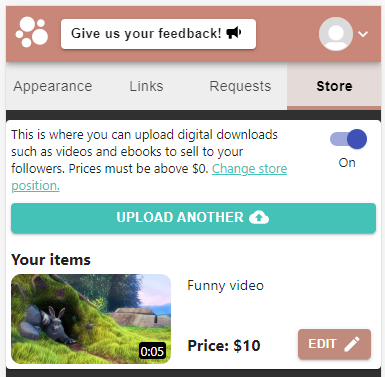
3. After you finish customizing the item, it will show up in the Store tab dashboard.
What your followers will see
- The Store is one of the sections that you can customize on your page. It looks like this:

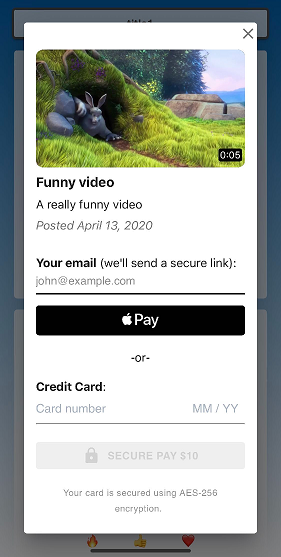
2. When they click Download Now they will be able to buy the file:
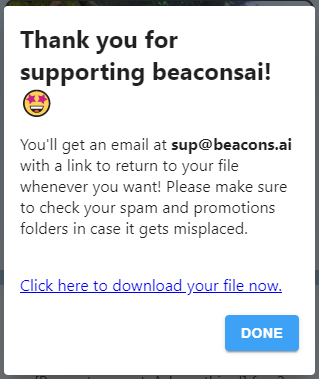
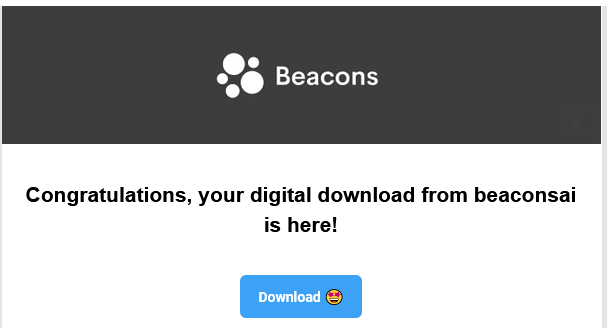
3. After successful payment, we'll give them a link to immediately download the file. We'll also send an email with the link so they can download it later.
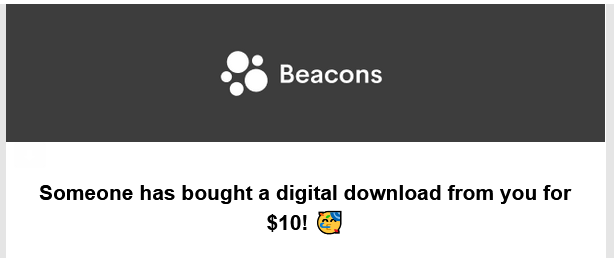
4. When someone buys one of your videos, we'll also let you know by sending you an email.
Tips
- You can highlight your Store by moving the Store section to the top of your page.
- If you are trying to monetize Instagram, one way is to make your followers aware of your store offerings through an Instagram story swipe-up. And make sure to research when is the best time to post on Instagram.
- Adding an attractive thumbnail, title, and description helps consumers understand what you're offering and make their purchase decision.
What percentage of the selling prices goes to the creator?
After the Stripe processing fee, Beacons pricing plan takes 10% and the rest goes to the creator. For a $5 purchase, $4.09 goes to the creator, $0.46 goes to Beacons, and $0.45 goes to Stripe (yes, Stripe has a great business 😉).


%202.png)